One of my youngest son's friends, Jayden is turning 5 years old on the 30th of this month. I decided that I wanted to try out my BIC/Sharpie markers (the poorman's Copic) to color in the stamped image on the card. I think I will need to get the fine tip version as well but I like the look of the card. Jayden likes purple and pink and butterflies.
This is a 5.5 x 5.5 inch card. I made the sentiment on the computer and glue it down to look like a banner. I finished off with a pink bow.
Until next craft!
Spring
Showing posts with label Birthday. Show all posts
Showing posts with label Birthday. Show all posts
Friday, July 29, 2011
Friday, March 11, 2011
Many ways to say, Thanks!
I made some thank you notes for Don for his 40th birthday party celebration! I wanted them to look similar to the invites so I used the same paper and embossed the cordinations paper.
This card is called a Tri-fold pocket card. I learned how to make it from the ever so talented Dawn (from Youtube). She is amazing and very easy to follow. Click here to learn how to make one.
Here is my interpretation of the card.
Until Next Craft!
This card is called a Tri-fold pocket card. I learned how to make it from the ever so talented Dawn (from Youtube). She is amazing and very easy to follow. Click here to learn how to make one.
Here is my interpretation of the card.
Until Next Craft!
Sunday, November 7, 2010
Happy Birthday Sammy!
Tomorrow, my best friend's middle son will be the big 1-0! Double Digits! Here is the card I made...
Tuesday, October 26, 2010
Aunt Word Book
My aunt's birthday is on Halloween and I have been meaning to send this word book to her at Mother's Day but I flaked. So, I am determined to send this ontime for her birthday!
Until Next Craft!
Until Next Craft!
Sunday, October 24, 2010
Celebrate!
Since my husband assured me that there are no more mice in my craft room, I went into my room and make a birthday card.....
Hope you have a great Sunday afternoon! It is pouring rain and very, oh so very windy here!
Until next craft
Hope you have a great Sunday afternoon! It is pouring rain and very, oh so very windy here!
Until next craft
Sunday, September 19, 2010
Projects I have been working on
I am have been busy and haven't had a chance to post my latest projects so, here is a mass craft post!
Project #1:
I made an explosion box for a girlfriend that is about to have her first baby, a girl.
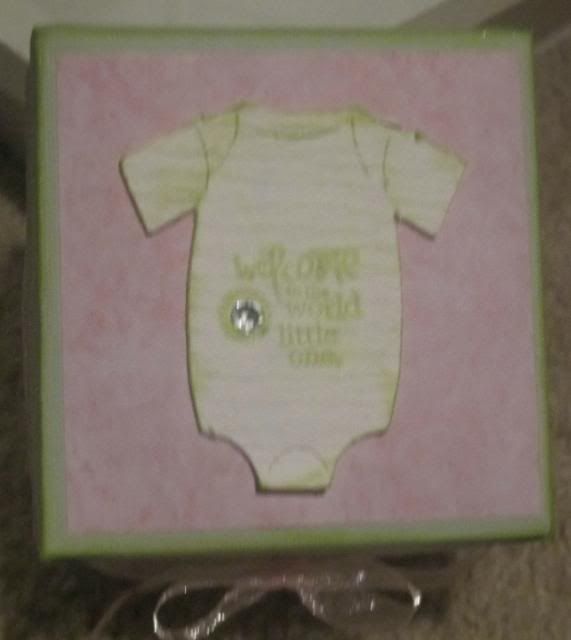
Top of the box
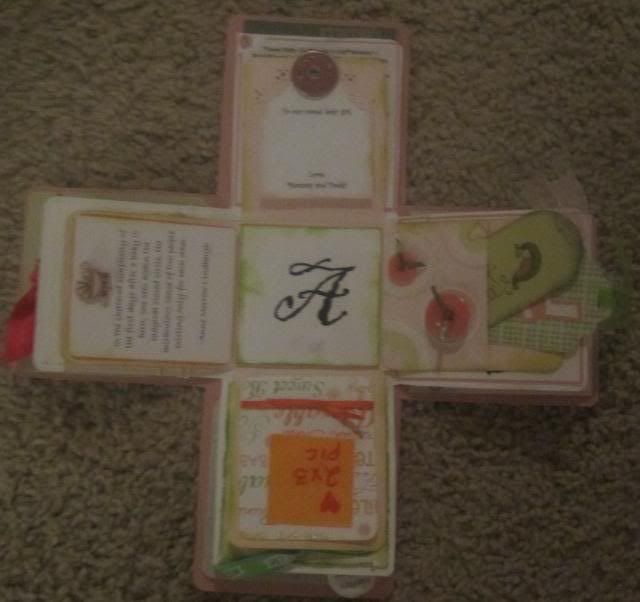
This is the box opened. The baby's name will be Audrina. I computer generated the A in the middle of the box.
One of the flaps, I made some tags and a pocket for them.
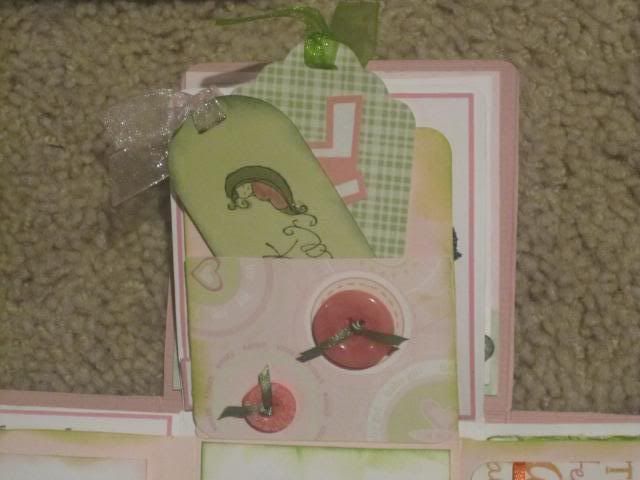
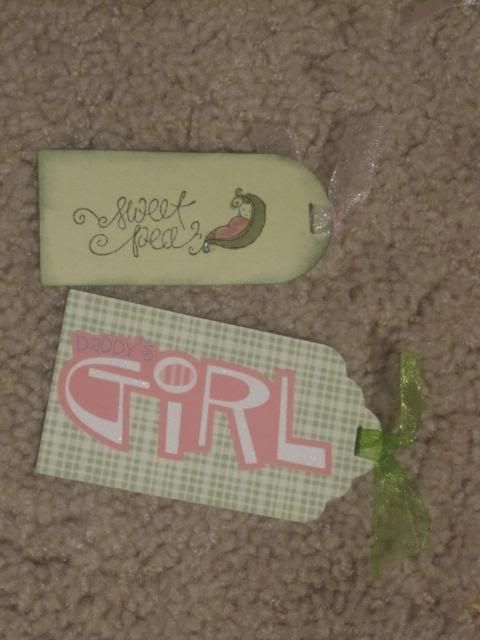
Close up of the tags.
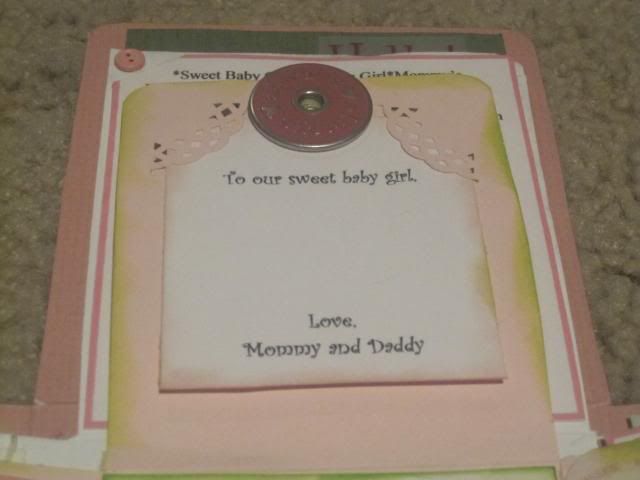
The Mommy and Daddy can write a note to the baby. The papers comes out.
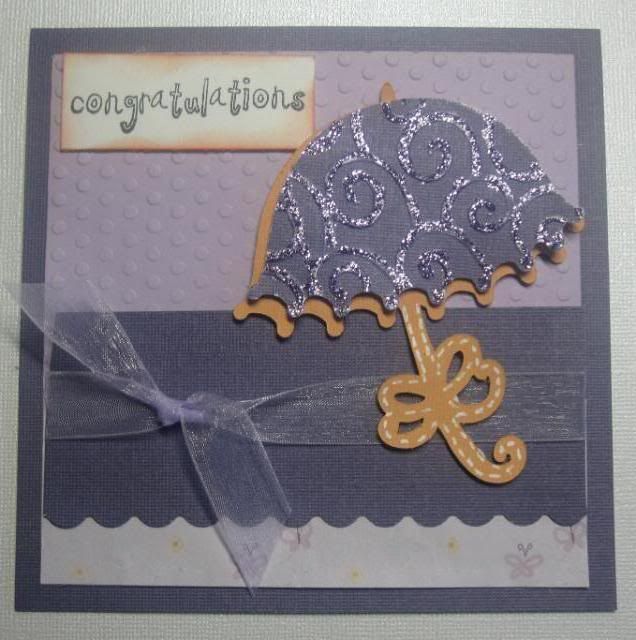
Here is the card that I made to go with the present. I got the card idea from "Cardmaking with the Cricut" Great ideas and easy to follow.
Project #2
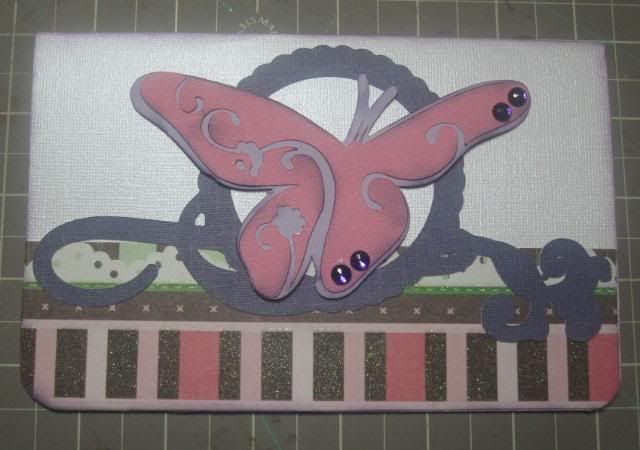
Birthday card for one of my friends miles away. I also got this card idea from "Cardmaking with the Cricut"
Project #3
This was a word book I made for a follower of my FACEBOOK FAN PAGE. She wanted me to make a book that read, "SNOW" I used the Speaking of Winter and GBS carts for this.

Thanks for Looking (and hopefully commenting)
Until Next Project!
Project #1:
I made an explosion box for a girlfriend that is about to have her first baby, a girl.
Top of the box

This is the box opened. The baby's name will be Audrina. I computer generated the A in the middle of the box.

One of the flaps, I made some tags and a pocket for them.

Close up of the tags.

The Mommy and Daddy can write a note to the baby. The papers comes out.

Here is the card that I made to go with the present. I got the card idea from "Cardmaking with the Cricut" Great ideas and easy to follow.

Project #2
Birthday card for one of my friends miles away. I also got this card idea from "Cardmaking with the Cricut"

Project #3
This was a word book I made for a follower of my FACEBOOK FAN PAGE. She wanted me to make a book that read, "SNOW" I used the Speaking of Winter and GBS carts for this.

Thanks for Looking (and hopefully commenting)
Until Next Project!
Labels:
baby,
Birthday,
explosion box,
word book
Monday, September 13, 2010
New Things on my blog
First, look to your left! Don't you love it? It is my new button that you can grab now! Please feel free. The wonderful designer can be located at http://www.designsbysarahbryan.com/. She is very reasonable and easy to work with. Thanks Sarah!
Okay, so I wanted to show these cards before the blog hop but forgot because I was so excited about it!
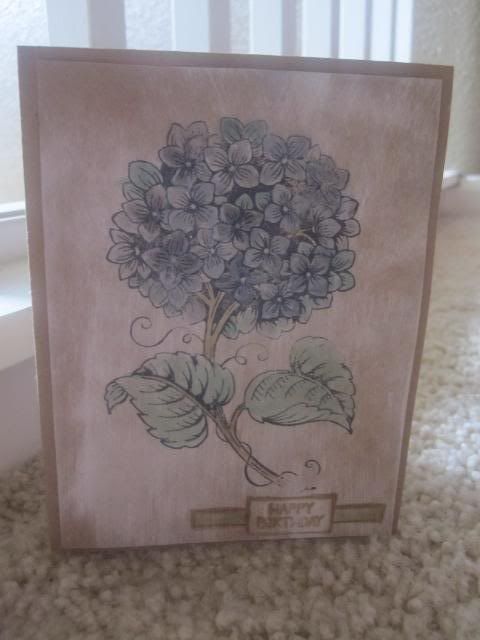
The first card is a birthday day. I used Kraft cardstock. I ran a white inkpad on a layer and then stamp with my favorite stamp...I watercolored the flower and then used some glossy accents to some of the flowers.
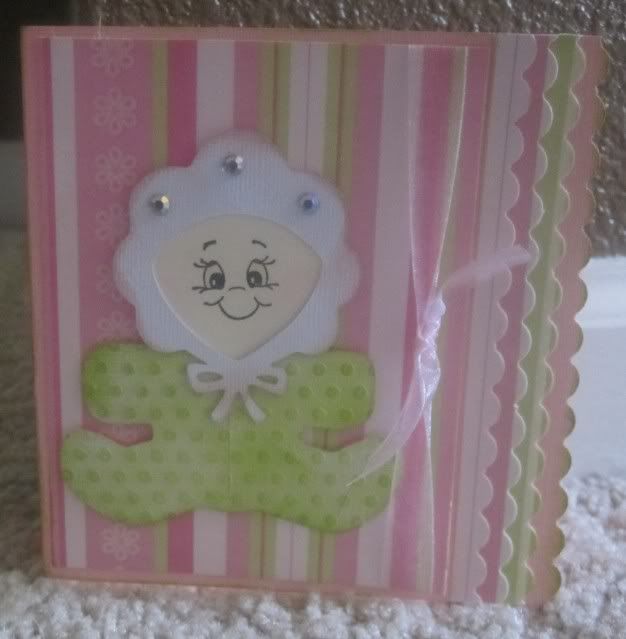
The second card is card lift. I got the idea from Mary. Click HERE to see her video. I made this for a baby shower
Hope you all have a great Monday!
Until Next Time
Okay, so I wanted to show these cards before the blog hop but forgot because I was so excited about it!
The first card is a birthday day. I used Kraft cardstock. I ran a white inkpad on a layer and then stamp with my favorite stamp...I watercolored the flower and then used some glossy accents to some of the flowers.

The second card is card lift. I got the idea from Mary. Click HERE to see her video. I made this for a baby shower

Hope you all have a great Monday!
Until Next Time
Monday, July 26, 2010
Happy Birthday!
I have a girlfriend who LOVES the color purple (not the movie but the actual color, well, I don't know if she likes the movie...but I digress...
I wanted to make a long card. I haven't done one of those, ever. It was strange. I couldn't use a text box for the inside message but it came out cute, nonetheless.
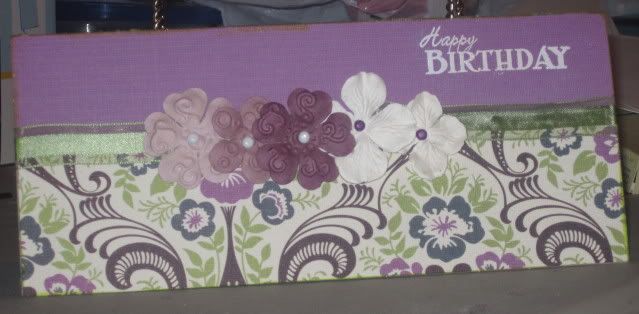
I wanted to make a long card. I haven't done one of those, ever. It was strange. I couldn't use a text box for the inside message but it came out cute, nonetheless.

Sunday, July 11, 2010
Have a Berry Sweet Birthday
This card was for a friend of my 4 year old, Matthew.
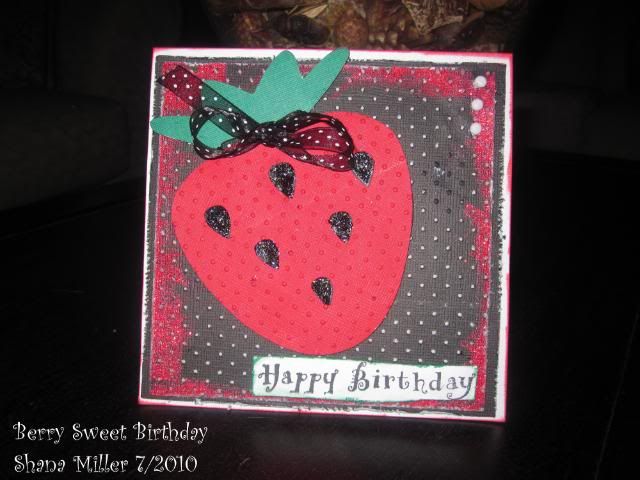
My card recipe:
*Card Base: 5.5 x 5.5 white card
*Layer: 5.12 x 5.12 cordination cardstock (black/white)
-embossed with Swiss Dots C/B folder
-sanded
-edges dipped in Versamark, then embossed with Red Tingle power
*Strawberry from Indie Art Cricut Cart
-black out, strawberry, green leaf cut at 3.5
-Stickles for the seeds (Black Diamond)
*3 Generic white brads
*Foam Tape (by 3-M)
-I only purchase it at Home Depot because you get so much more than at the craft stores
*Tombo Mono Multi-Glue
Oh My Gosh!
I only need 4 more followers and then I get to give away a cricut cartridges!
SWEET!
Wednesday, June 16, 2010
Get Ready, Cuz here it comes....My first blog post! (San Jose Sharks Birthday card)
Welcome, one and all, to my new craft blog! I am super excited that I have finally started this. I want to be able to share my work. I hope you all take a seat, buckle the seatbelt and ride along this creative journey with me. I will post some of my past crafts very, very soon.
I want to share my latest project though. I didn't want to blog an entry and then not at least put something that is crafty in the entry.
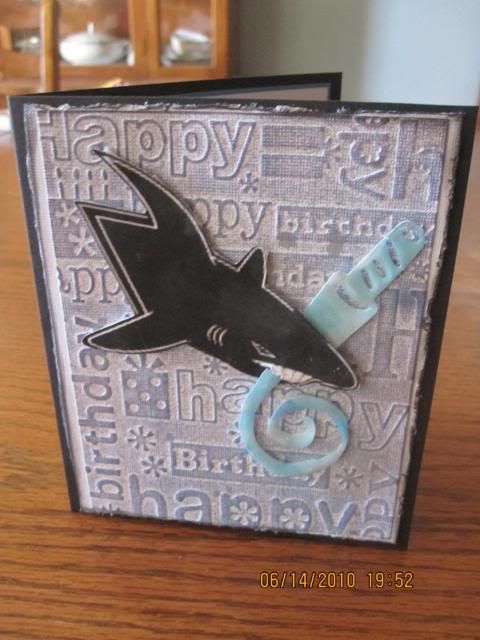
This project was a birthday card that I made for my friend's husband. He is a die-hard, no-nonsense, crazy San Jose Sharks fan! Mad crazy!
So, as I was looking at the logo, I was thinking....not very birthday like. The chomping on the hockey stick was a little harsh, even for me, mother to two boys that know no fear! So, I decided to use my Cricut
(a.k.a. my partner in crime)
Here is the result!
The blower in his mouth made him less vicious in a way, don't 'cha think?
Materials Used:
*standard A2 size card
*Happy Birthday cuttlebug folder
*ColorBox Ink (Cyan) applied with brayer on embossed image
*Tattered Angels Glimmer Mist in Graphite
*Cricut Cartridge (celebrations) for the blower cut out
*UTEE and Versamark to make the blower sturdier and have a glossy effect
*Stampin' Up distress edger
*3M foam tape to pop up my image and the embossed folder
Thanks for looking!
And remember what Mama used to say, "Don't be a leader, be a follower!"
The faster I get to the first 25 followers, I am licking the stamp, not the box, because, let's face it...that's gross, and sending out some blog candy!
Subscribe to:
Posts (Atom)


