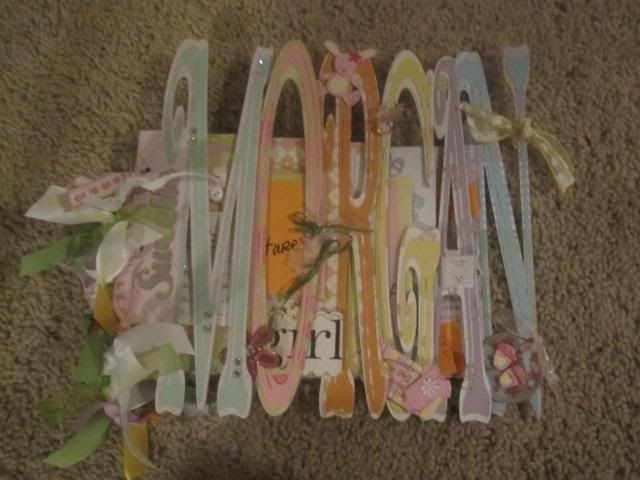
I have been MIA for the last couple of days because I had the chance to make another word book. I love making them. They are a lot of work but a lot of fun to do. This book is my favorite one that I have created.
My client's daughter is name PIPER. She wanted to have a book showcasing Piper's first year of life. I had a lot of photos to work with so that made my job easy.
I used the DCWV Nana's Nursery Baby Girl Stack. I also used Cordinations Paper. I added some ribbon from Walmart. I added stickers and embellies to complete this sweet book! Here are some pictures.
Thanks for taking the time to look at my project!
Until next craft!
Spring
Showing posts with label word book. Show all posts
Showing posts with label word book. Show all posts
Tuesday, August 2, 2011
Monday, July 25, 2011
Welcome Baby Nolan
I made a Word Book for a dear friend of mine who, recently had a baby boy. I was super excited to do this word book because this was my first "boy" one. It seems that I have only done "girl" ones. Enjoy the photos....
Until next craft!
Thursday, March 17, 2011
10 years word book
I made this for a special couple in my life. They are celebrating their 10 year wedding anniversary at the end of March. I am so happy for them and excited for them for the next 10 years! Here is the book I made....I used DCWV Linen Closet paper line!
Here are some of the pages inside the book:
Hope you enjoyed
Until next craft!
Here are some of the pages inside the book:
Hope you enjoyed
Until next craft!
Tuesday, October 26, 2010
Aunt Word Book
My aunt's birthday is on Halloween and I have been meaning to send this word book to her at Mother's Day but I flaked. So, I am determined to send this ontime for her birthday!
Until Next Craft!
Until Next Craft!
Sunday, September 19, 2010
Projects I have been working on
I am have been busy and haven't had a chance to post my latest projects so, here is a mass craft post!
Project #1:
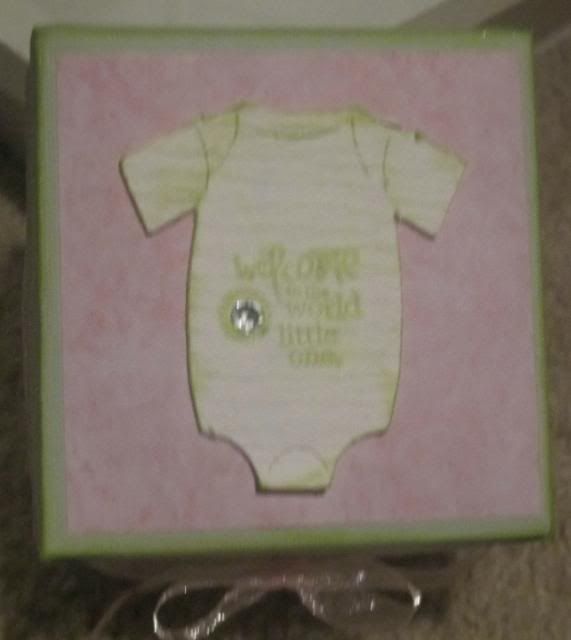
I made an explosion box for a girlfriend that is about to have her first baby, a girl.
Top of the box
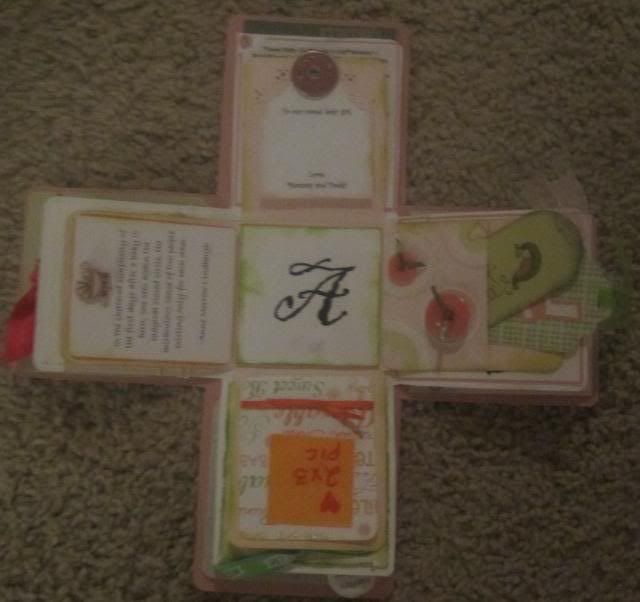
This is the box opened. The baby's name will be Audrina. I computer generated the A in the middle of the box.
One of the flaps, I made some tags and a pocket for them.
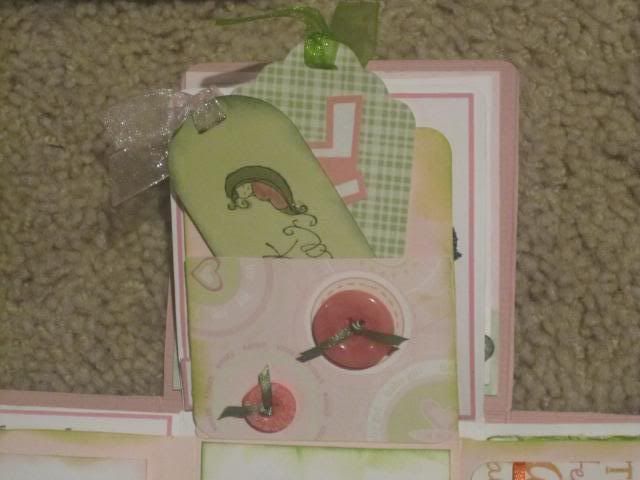
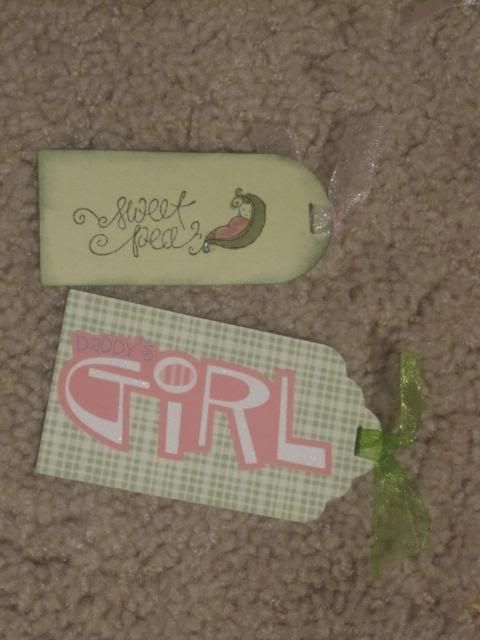
Close up of the tags.
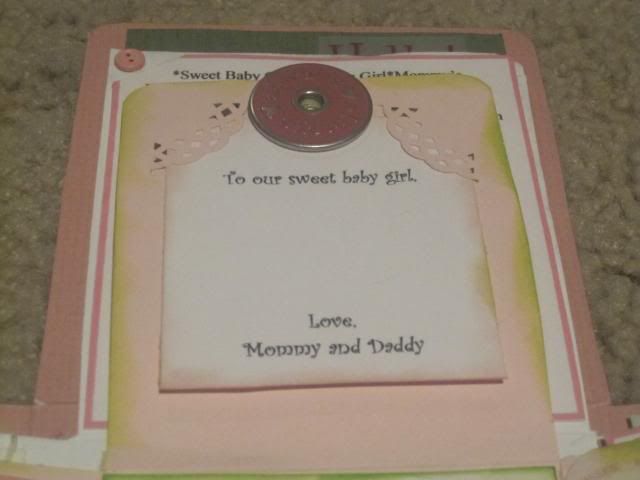
The Mommy and Daddy can write a note to the baby. The papers comes out.
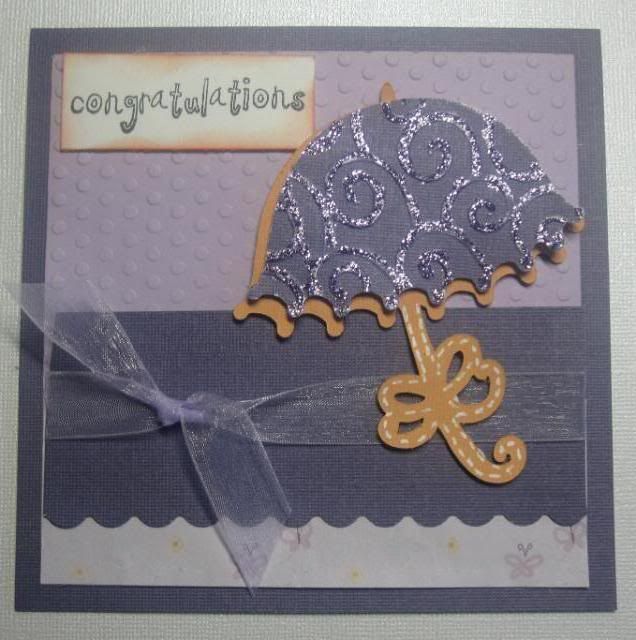
Here is the card that I made to go with the present. I got the card idea from "Cardmaking with the Cricut" Great ideas and easy to follow.
Project #2
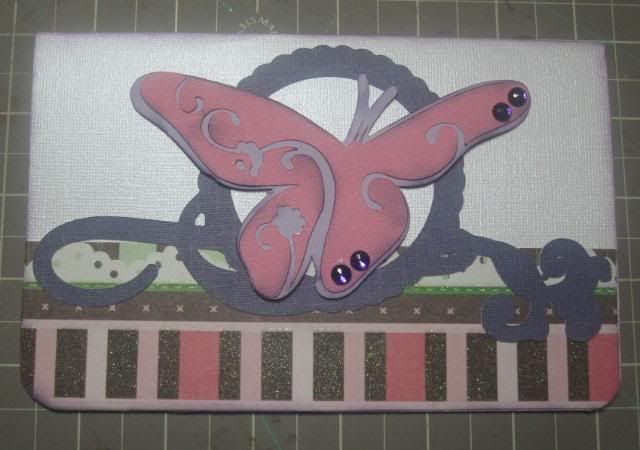
Birthday card for one of my friends miles away. I also got this card idea from "Cardmaking with the Cricut"
Project #3
This was a word book I made for a follower of my FACEBOOK FAN PAGE. She wanted me to make a book that read, "SNOW" I used the Speaking of Winter and GBS carts for this.

Thanks for Looking (and hopefully commenting)
Until Next Project!
Project #1:
I made an explosion box for a girlfriend that is about to have her first baby, a girl.
Top of the box

This is the box opened. The baby's name will be Audrina. I computer generated the A in the middle of the box.

One of the flaps, I made some tags and a pocket for them.

Close up of the tags.

The Mommy and Daddy can write a note to the baby. The papers comes out.

Here is the card that I made to go with the present. I got the card idea from "Cardmaking with the Cricut" Great ideas and easy to follow.

Project #2
Birthday card for one of my friends miles away. I also got this card idea from "Cardmaking with the Cricut"

Project #3
This was a word book I made for a follower of my FACEBOOK FAN PAGE. She wanted me to make a book that read, "SNOW" I used the Speaking of Winter and GBS carts for this.

Thanks for Looking (and hopefully commenting)
Until Next Project!
Labels:
baby,
Birthday,
explosion box,
word book
Thursday, September 2, 2010
Morgan Word Book
Friday, August 6, 2010
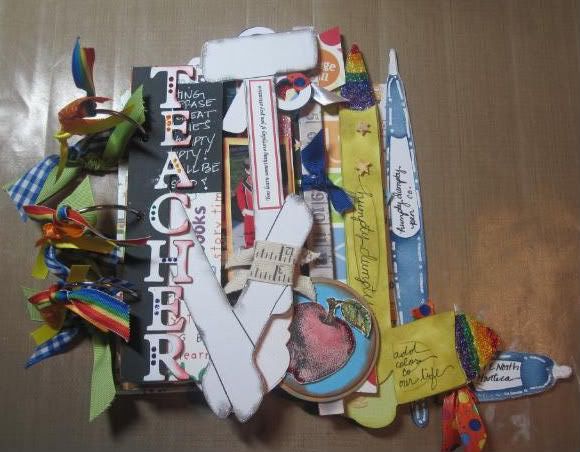
Jill WordBook (and a farewell to Humpty Dumpty Preschool) Video at the end of this post :)
I had the honor of having Jill as my boys' (one of) preschool teachers. Humpty Dumpty Preschool Parent Teacher Co-Op (say that 3 times fast) was for children ages 18 months to 5 years. Unfortunately, due to budget cuts, H/D had to close its' doors after more than 40 years of servicing our community. I, as a parent are one of the lucky ones. Jill, in a word to describe her: Amazing. She loves to come to work and she loved each and everyone of the children that walked thru the doors. Thank you, Teacher Jill....This one's for you.
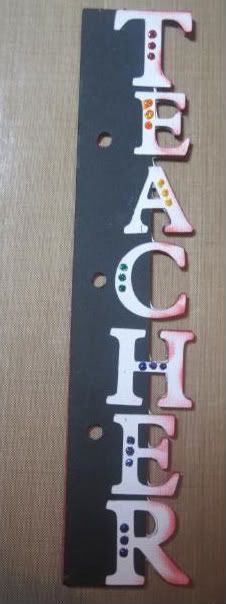
The Letter "J"
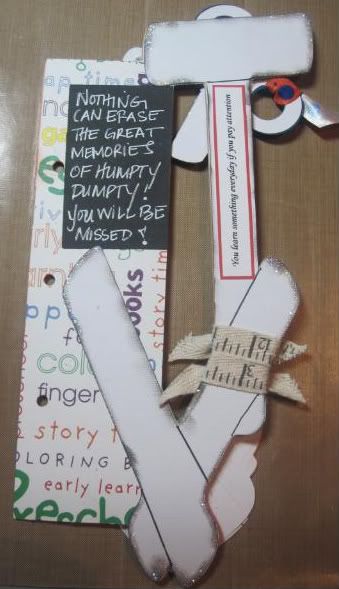
The Back of Letter "J"
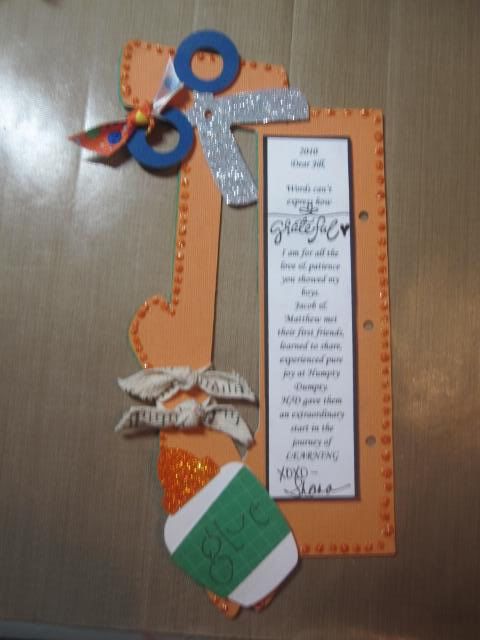
Close up of scissors. I used MS glitter with my Xyron and also an eyelet for the middle of the scissors.

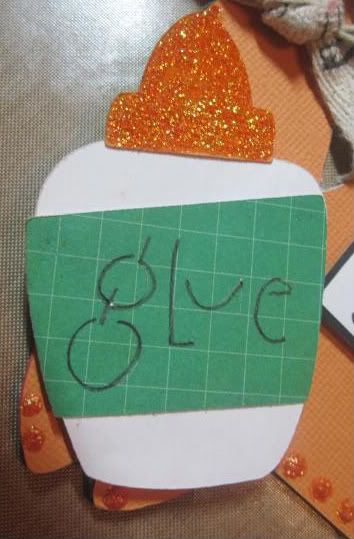
And the glue, I used Orange Peel stickles
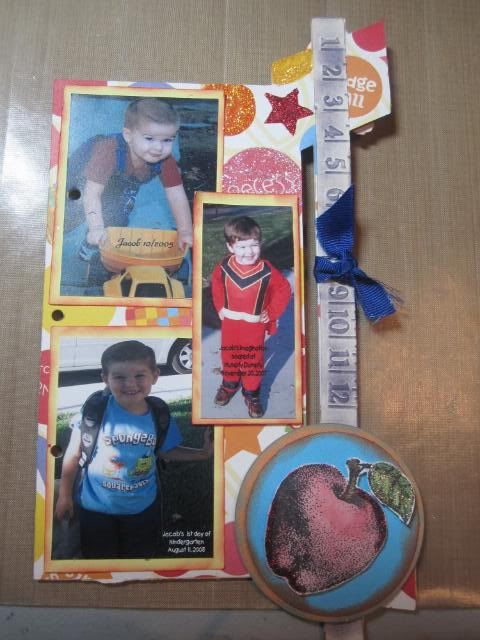
The Letter "I"
The letter is suppose to be a ruler. The pictures are of my older son, pictures from Humpty Dumpty and last one from this first day of kindergarden.
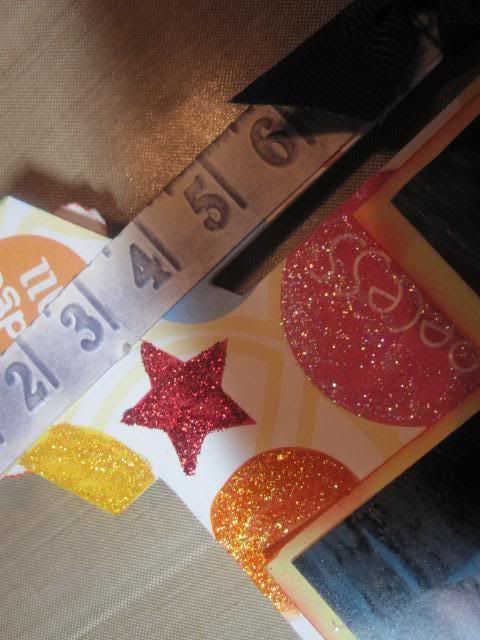
This is a close up of the new embossing border (measure by measure). I inked it with Tim Holtz distress ink in weatherd wood

close up of the apple stamp. I watercolored and stickled it.

Close up of the stickling I did on the paper print
Back of Letter "I'
These pictures of my younger son, he only went to H/D 2 out of the 4 years possible because he was accepted into a 2 day a week speach class, so we took it. I also computer generated the words, "Teacher Jill Rules" and "School Rules" to tie in with the front of the same letter.
Letter "L"
This page is my favorite. It celebrates the birthdays that the boys have had over the years with H/D. I only used stickes for this page.
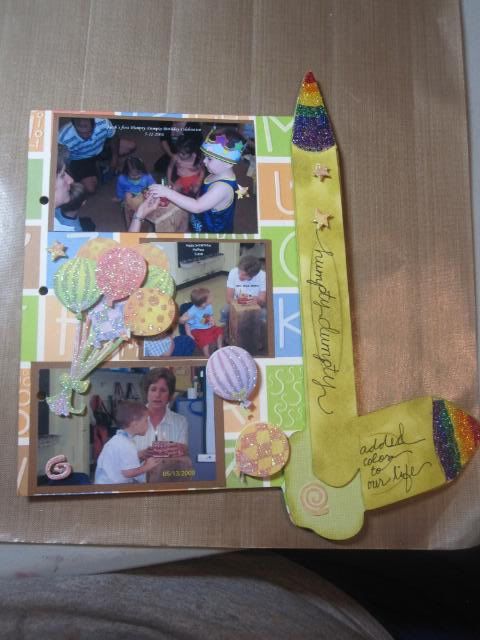
Close up of the "pencils. I stickles the colors of the rainbow and hand wrote, "Humpty Dumpty added color to our lives."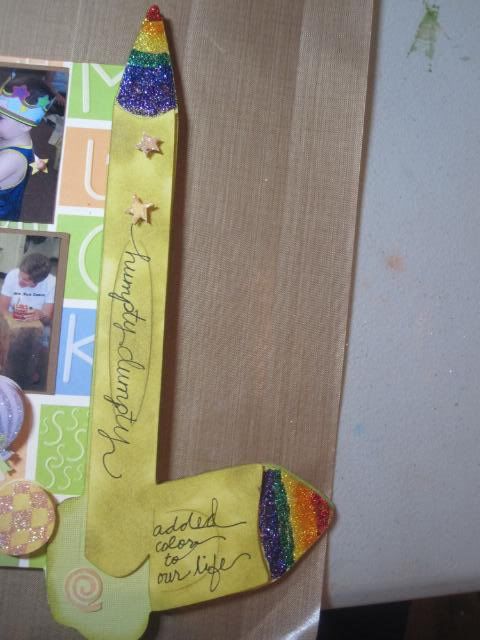
Back of the letter "L"
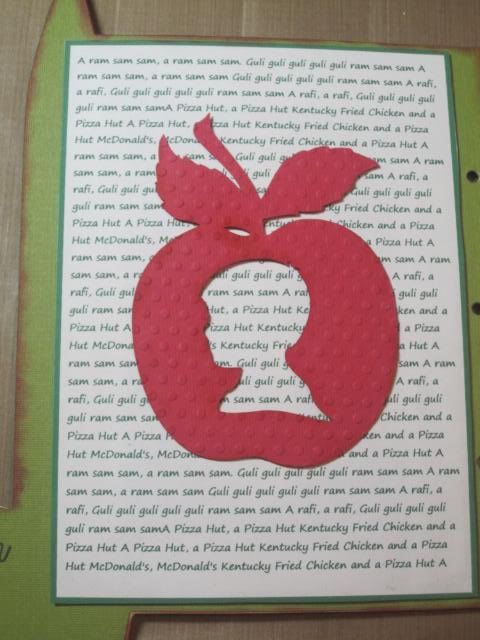
Ram, Sam, Sam was the song we sung everytime, we ended the day. I used a text box and copied the lyrics. I then put a boy's head in sillouette and then embossed it with the polka dots from cuttlebug.
Letter "L"
I put a picture scene with Jacob on his first day of school.
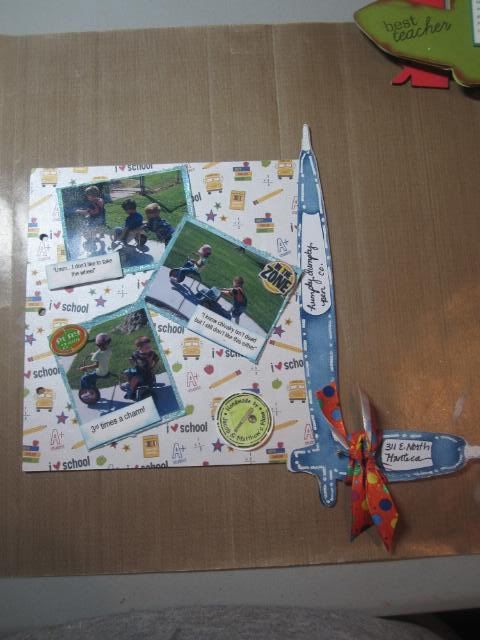
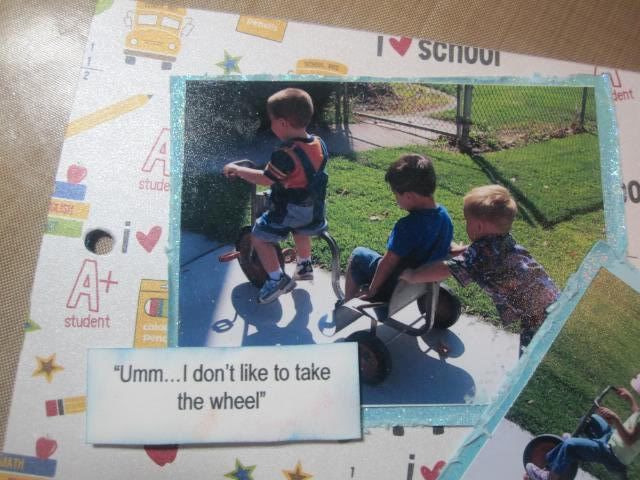
First Picture (my son is the one in the "driver's seat")
Scene 2
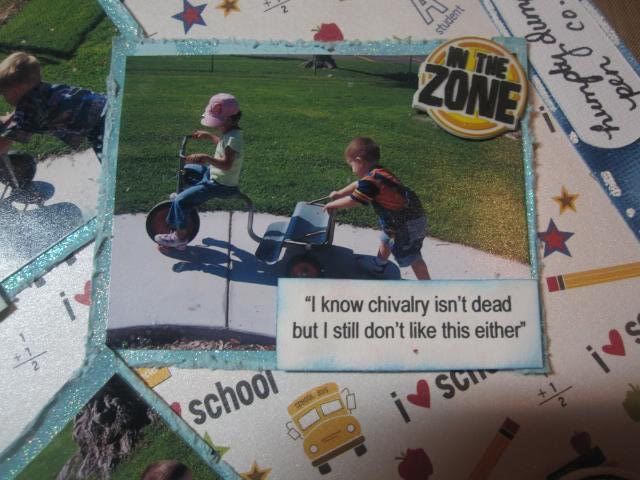
Finally, scence 3. This is one that he can live with.
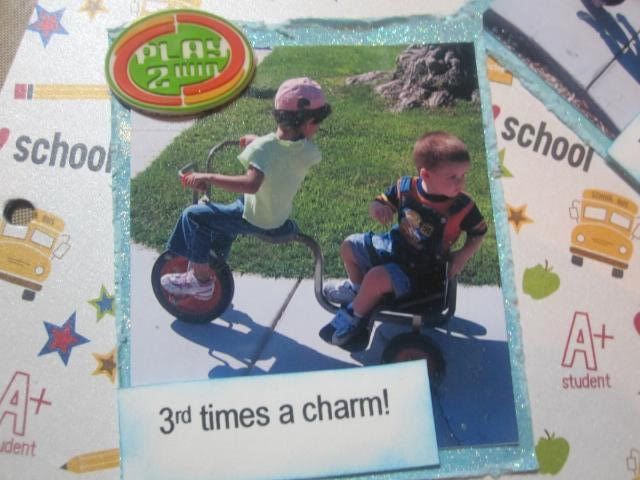
And my stamp of approval

That's all!
Until Next Time!
Front of the book closed


The Letter "J"

The Back of Letter "J"

Close up of scissors. I used MS glitter with my Xyron and also an eyelet for the middle of the scissors.

And the glue, I used Orange Peel stickles

The Letter "I"
The letter is suppose to be a ruler. The pictures are of my older son, pictures from Humpty Dumpty and last one from this first day of kindergarden.

This is a close up of the new embossing border (measure by measure). I inked it with Tim Holtz distress ink in weatherd wood

close up of the apple stamp. I watercolored and stickled it.

Close up of the stickling I did on the paper print

Back of Letter "I'
These pictures of my younger son, he only went to H/D 2 out of the 4 years possible because he was accepted into a 2 day a week speach class, so we took it. I also computer generated the words, "Teacher Jill Rules" and "School Rules" to tie in with the front of the same letter.
Letter "L"
This page is my favorite. It celebrates the birthdays that the boys have had over the years with H/D. I only used stickes for this page.

Close up of the "pencils. I stickles the colors of the rainbow and hand wrote, "Humpty Dumpty added color to our lives."

Back of the letter "L"
Ram, Sam, Sam was the song we sung everytime, we ended the day. I used a text box and copied the lyrics. I then put a boy's head in sillouette and then embossed it with the polka dots from cuttlebug.

Letter "L"
I put a picture scene with Jacob on his first day of school.

First Picture (my son is the one in the "driver's seat")

Scene 2

Finally, scence 3. This is one that he can live with.

And my stamp of approval

That's all!
Until Next Time!
Subscribe to:
Posts (Atom)


